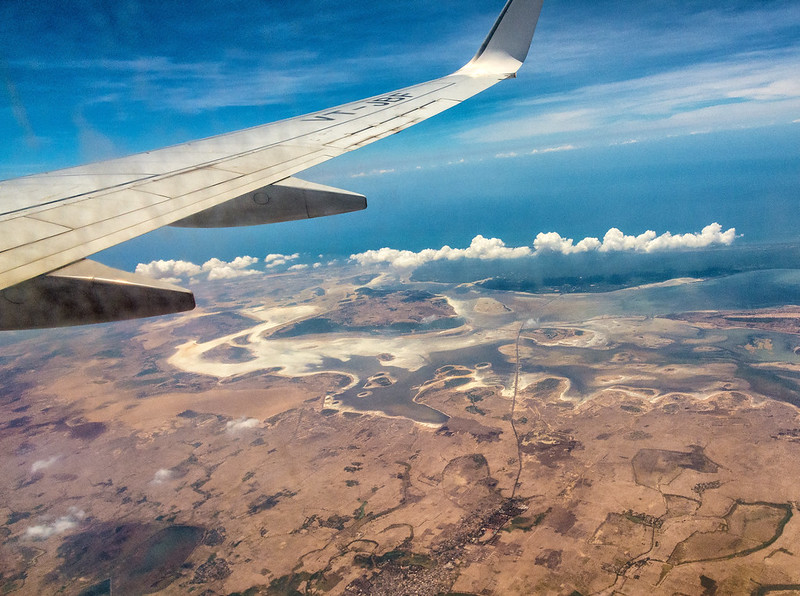
It is the summer time and a lot of you would be traveling all over the place. There are breathtaking views you plan your visit to that make you pause and you catch yourself saying "Damm this is my life!!!". However, that is not the only time you see beautiful sights. A lot of times we see amazing visuals while we are on the move like sitting on a train, a bus, heck even while flying in the sky from an aircraft.
It is at these moments that we wish we had more time to stop and make a picture, but in actuality, we are not able to do so, because we cannot stop. To help you with this I am going to share with you some of the ways I get around this problem. I have broken it down on the following aspects such as lens choice, camera setting etc. So let's get started. (Almost all the lens details are for the crop body.)
Lens Choice
My preferred lens to shoot with is the 16-85mm Nikkor. Though this lens has a lot of distortion at all possible angles, it gives me the range I like to shoot with. For me, I like to get a bit wider in my perspective and the 18mm on the crop body was just not cutting it.
I also carry a few lenses when I am traveling but mostly these never get out of my camera bag. I usually pack the 35mm f1.8 and one short telephoto lens. Any more than lenses than this and it is a nightmare getting through airport security. This also adds weight while I traveling.
However, if don't have this lens or any of the other no problem your 18-55mm which comes as the standard kit lens is a really good place to start. If you can afford to buy lense only for travel a lot of travelers recommend any one of these 18-140/200/250/300. These lense replace almost all the lens requirements and if you want to shoot portraits in low light add the 35 mm f1.8 and you are set. With such long lens, it removes the requirement to change lenses very often. This is very helpful when traveling, you can quickly go from wide to tele really fast and covers almost all the required ranges. This is great as you also avoid sensor dust getting into your camera when you change lenses.
When you get one of these there is a lot of distortion but you can fix most of in post-processing. However, if you are a stickler for edge to edge performance then get ready to carry loads of lense.
If you are on the full frame then the 28-300 would be the equivalent. If you can rent one of these then that is a good way to try out the lens out before you drop your money on one of them.
Shooting Style
If you only have your kit lens don't worry. All the lenses in the world are useless if you don't know how to shoot or don't have a good technique. So work on your technique and you will still walk away with great images. For this, you need two things
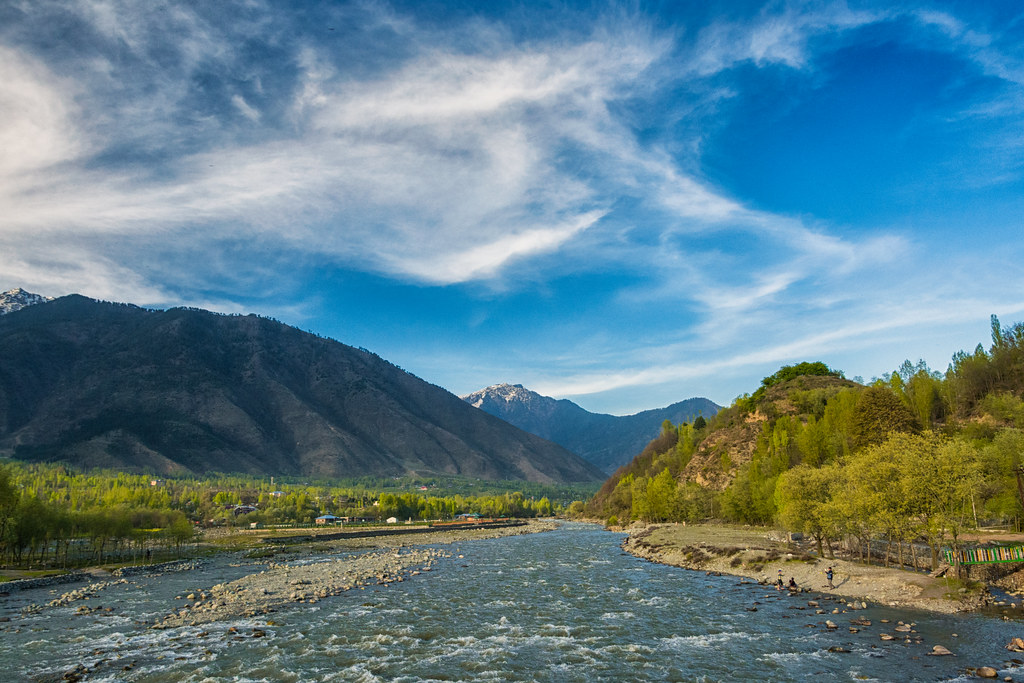
I saw the above view while going and was ready on the way back and used the spray and prey technique. Not bad I would say.
Next is see images of the places you are likely to visit on your way and be prepared in advance. This means you are going to click these places from a moving vehicle. You would also require to practice before you go on such expedition. Practice this on your everyday commute to get better.
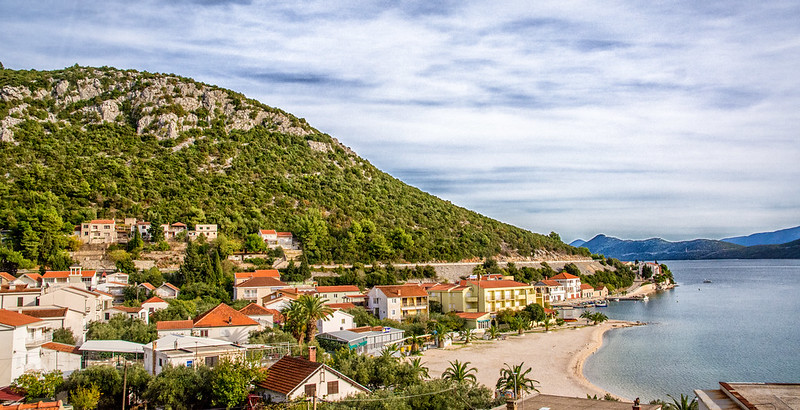 |
| Photo was taken from a moving bus |
 |
| View from above |
It is at these moments that we wish we had more time to stop and make a picture, but in actuality, we are not able to do so, because we cannot stop. To help you with this I am going to share with you some of the ways I get around this problem. I have broken it down on the following aspects such as lens choice, camera setting etc. So let's get started. (Almost all the lens details are for the crop body.)
Lens Choice
My preferred lens to shoot with is the 16-85mm Nikkor. Though this lens has a lot of distortion at all possible angles, it gives me the range I like to shoot with. For me, I like to get a bit wider in my perspective and the 18mm on the crop body was just not cutting it.
I also carry a few lenses when I am traveling but mostly these never get out of my camera bag. I usually pack the 35mm f1.8 and one short telephoto lens. Any more than lenses than this and it is a nightmare getting through airport security. This also adds weight while I traveling.
However, if don't have this lens or any of the other no problem your 18-55mm which comes as the standard kit lens is a really good place to start. If you can afford to buy lense only for travel a lot of travelers recommend any one of these 18-140/200/250/300. These lense replace almost all the lens requirements and if you want to shoot portraits in low light add the 35 mm f1.8 and you are set. With such long lens, it removes the requirement to change lenses very often. This is very helpful when traveling, you can quickly go from wide to tele really fast and covers almost all the required ranges. This is great as you also avoid sensor dust getting into your camera when you change lenses.
When you get one of these there is a lot of distortion but you can fix most of in post-processing. However, if you are a stickler for edge to edge performance then get ready to carry loads of lense.
If you are on the full frame then the 28-300 would be the equivalent. If you can rent one of these then that is a good way to try out the lens out before you drop your money on one of them.
Shooting Style
If you only have your kit lens don't worry. All the lenses in the world are useless if you don't know how to shoot or don't have a good technique. So work on your technique and you will still walk away with great images. For this, you need two things
- Preparation
- Anticipation
1. Preparation
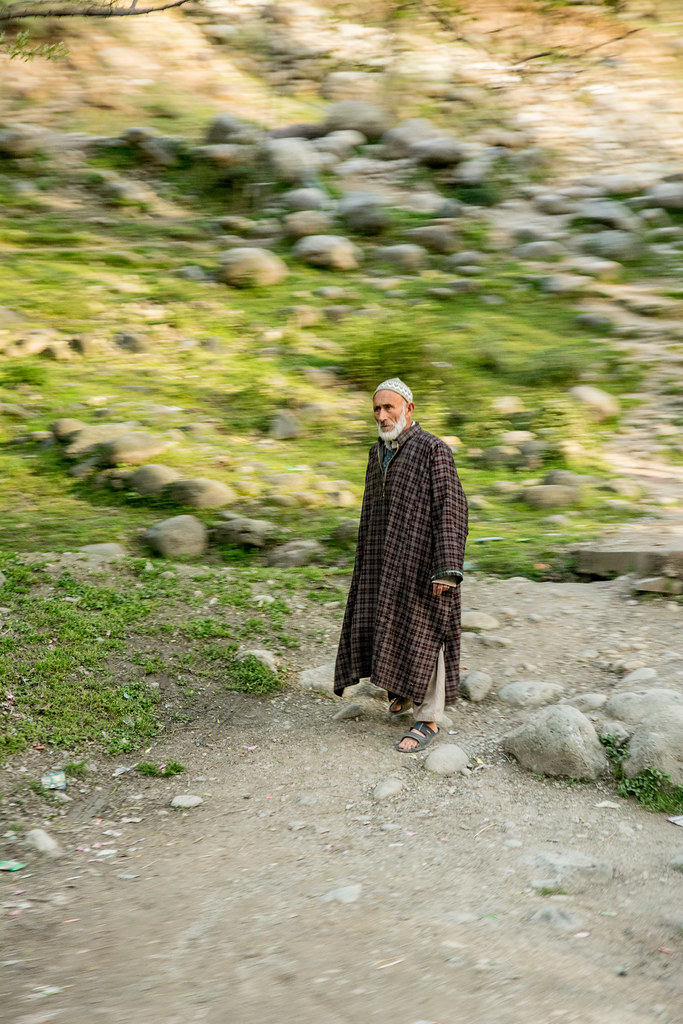
When you are on the go, your vehicle is moving quite fast, well mostly... In this case, you can do one of two things, take advantage of the movement or get ahead of movement. One way to take advantage of the movement is is reverse panning. In panning the subject is moving and you are still. However, in this case, the reverse is happening. You are moving and the subject is still. What you get is this dissing photo something like what you see below. The man in the photo is sharp but in front and behind we see movement. You get motion blur in front and behind the subject. But the subject is sharp.
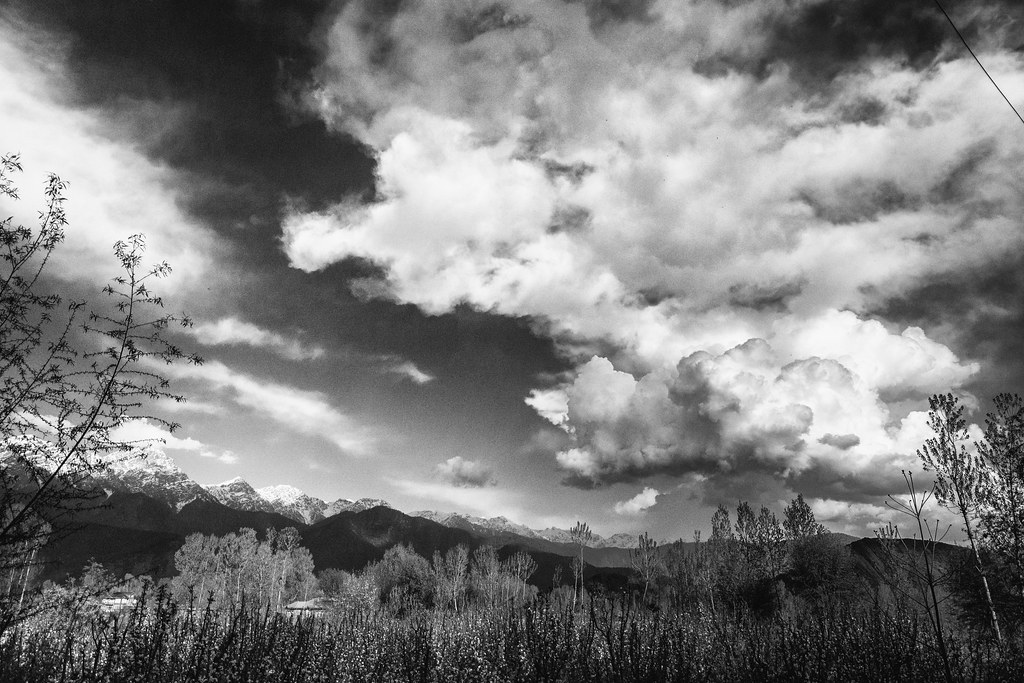
The second is to have a high ISO open aperture and camera on AF-C. This will help your camera click an image even if it does not get a true focus. The downside is you may get a really blurry image. Here is an example of shooting at high speed. Mostly you would be able to freeze action as your shutter speed is faster than your moving vehicle. You could walk away or in this case move away with an image like what you see below.
For this you need to keep your aperture open to as wide it will go, keep your lens at the wide angle and ISO at least 800 or above. Some of your cameras will allow you to go to 4000 or so, try it. I rather have a grainy image rather than none at all.
For this you need to keep your aperture open to as wide it will go, keep your lens at the wide angle and ISO at least 800 or above. Some of your cameras will allow you to go to 4000 or so, try it. I rather have a grainy image rather than none at all.
The third is to shoot continuously or have your drive mode in continues shooting mode. The more you click the higher your chances to nail a great image. This is about the only time I do spray and pray for an image. Otherwise, most of my shooting is quite deliberate.
2. Anticipation
If the journey requires you to go and come along the same route then keep an eye out for interesting things you see. Make a note of where it is and then you can photograph it on your way back. A tip, change your position to the other side in the vehicle you are sitting in on your way back if you want to click what you saw from your window while going.
If this is something that you cannot do, then look ahead at what is coming and get the camera out where you expect to take a great photo. This will take some practice. You will initially miss some moments but over time you will get good at anticipating and clicking.
I saw the above view while going and was ready on the way back and used the spray and prey technique. Not bad I would say.
Next is see images of the places you are likely to visit on your way and be prepared in advance. This means you are going to click these places from a moving vehicle. You would also require to practice before you go on such expedition. Practice this on your everyday commute to get better.
These are some of my techniques, share the techniques you use while you are on the move by adding comments in the comments section below. If you found this useful share your experience.
