“The picture that you took with your camera is the imagination you want to create with reality.”
— Scott Lorenzo
Last time I blogged I mentioned an awesome panorama software which is absolutely free. Of course my interest in photographing panorama increase again and I went ahead and tried after a long time a zoomed panorama. Though these have been around for a while it was made popular by a man named Ryan Brenizer and now the method is popularly know as the Brenizer method. Its really simple
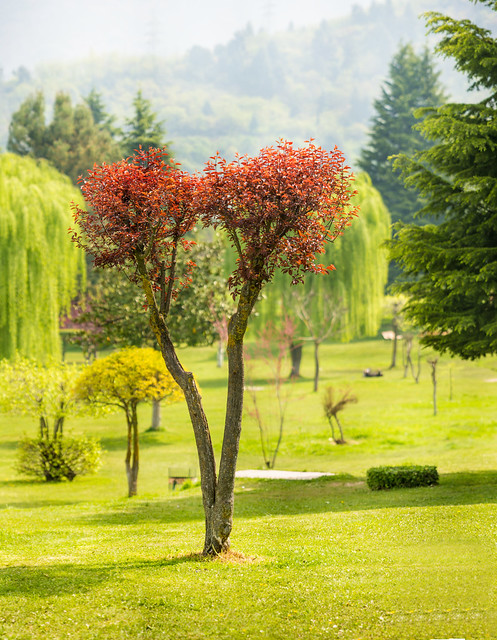
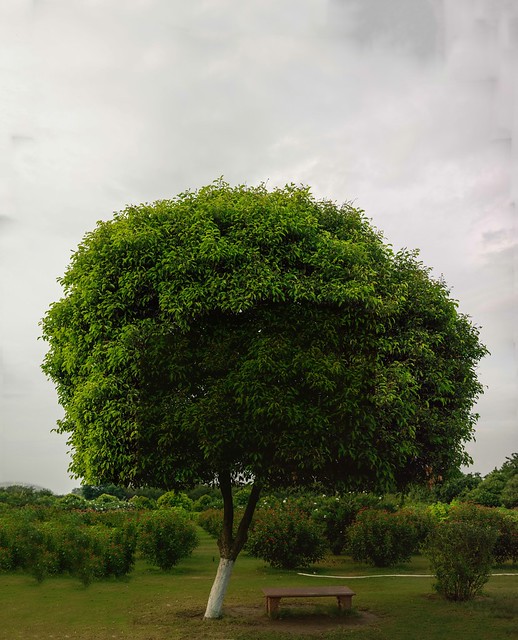
Here are a couple of examples of a zoomed panorama I made using a 200 mm lens. Unfortunately I forgot to make a wide angle shot of the same so this is all you got
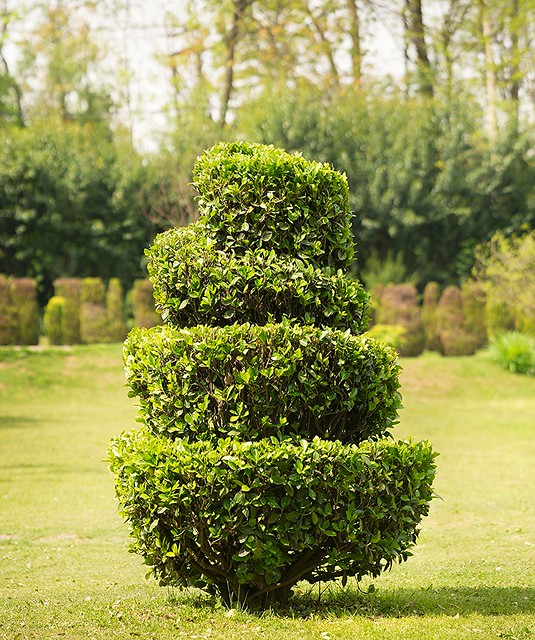
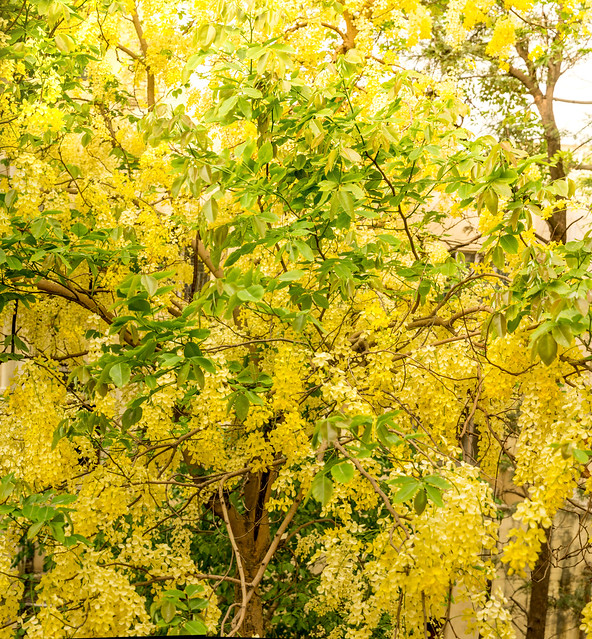
Below is an example of a panorama I made a small mistake. This tree looked really interesting as the gardeners had started to craft it and cut part of the leaves to make a shape. If you notice in the middle you will notice a square kind of shape. I made this using a 500-mm lens I missed a small spot and the panorama required some cloning on Photoshop to finish up
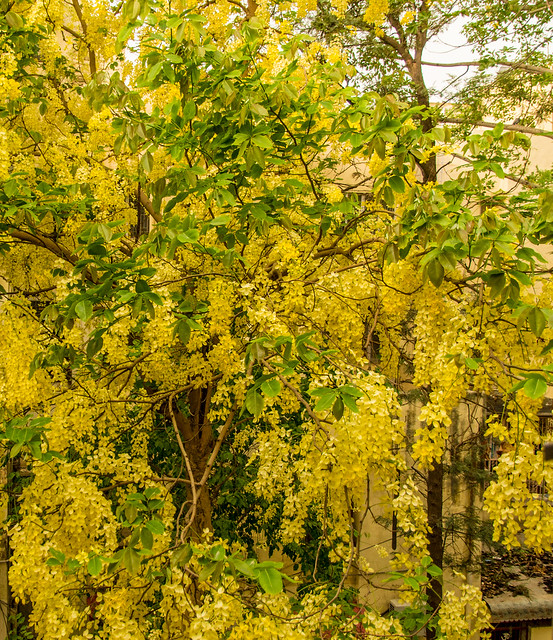
Here is a recent set of photos I recently made. The first image is made using a wide angle 16 mm and photographed the same thing using a 200 mm lense. (both on a crop body) While the first image was photographed wide open at f3.5 it has more in focus than the 200 mm which was photographed at f 6.3. You can see the photo start to blur out in the background in the secon image compared to the first one though it has photographed with a closed aperture. You will also notice in the fist image there is a lot of distance and in the second image there compression and it leaves you feeling closer to the subject. (the window in the top right feels closer in the second image compared to the first one) Its the same subject but two very different perspectives from the same location.
A small tip, I was recently talking to a photographer friend of mine about the zoomed panorama who does a lot of wedding photography and said he prefers to make small increments as the image turns out larger and shows off the shall depth of field more than when he makes lesser frames.
You can find some detail in the video below. In addition check out Rayan's website he has explained the whole thing as a paid tutorial including how to make this panorama of people with lights!
— Scott Lorenzo
Last time I blogged I mentioned an awesome panorama software which is absolutely free. Of course my interest in photographing panorama increase again and I went ahead and tried after a long time a zoomed panorama. Though these have been around for a while it was made popular by a man named Ryan Brenizer and now the method is popularly know as the Brenizer method. Its really simple
- Lake a long lens 85 mm or longer. Preferably use a prime if you have one.
- Move the camera to Full manual and get your setting right for the exposure
- Zoom the lens out and open the aperture
- Lock focus on a subject
- Switch off auto focus
- Make the panorama
- Bring the photos into post processing
- Make the panorama
Here are a couple of examples of a zoomed panorama I made using a 200 mm lens. Unfortunately I forgot to make a wide angle shot of the same so this is all you got
Below is an example of a panorama I made a small mistake. This tree looked really interesting as the gardeners had started to craft it and cut part of the leaves to make a shape. If you notice in the middle you will notice a square kind of shape. I made this using a 500-mm lens I missed a small spot and the panorama required some cloning on Photoshop to finish up
Here is a recent set of photos I recently made. The first image is made using a wide angle 16 mm and photographed the same thing using a 200 mm lense. (both on a crop body) While the first image was photographed wide open at f3.5 it has more in focus than the 200 mm which was photographed at f 6.3. You can see the photo start to blur out in the background in the secon image compared to the first one though it has photographed with a closed aperture. You will also notice in the fist image there is a lot of distance and in the second image there compression and it leaves you feeling closer to the subject. (the window in the top right feels closer in the second image compared to the first one) Its the same subject but two very different perspectives from the same location.
A small tip, I was recently talking to a photographer friend of mine about the zoomed panorama who does a lot of wedding photography and said he prefers to make small increments as the image turns out larger and shows off the shall depth of field more than when he makes lesser frames.
You can find some detail in the video below. In addition check out Rayan's website he has explained the whole thing as a paid tutorial including how to make this panorama of people with lights!
